
Mesi G3: Difference between revisions
From Fen Spinner Wiki
More actions
No edit summary |
No edit summary |
||
| Line 48: | Line 48: | ||
* 1 a small random grip | * 1 a small random grip | ||
====Tutorial=== | ====Tutorial==== | ||
*Original tutorial:[http://spinnerenter.blog6.fc2.com/blog-entry-7.html Mesi's blog] | *Original tutorial:[http://spinnerenter.blog6.fc2.com/blog-entry-7.html Mesi's blog] | ||
=====Cap===== | |||
Put G3 back plugug and Frixion rubber nub together like below : | #Put G3 back plugug and Frixion rubber nub together like below:<br>[[File:g3bp-300x225.jpg|left|thumb|200px]]<br clear=all> | ||
[[File: | #Add 4 stripes of G3 grip above Step 1. Cut the grip vertically.<br>[[File:mesiv2bp-300x225.jpg|left|thumb|200px]]<br clear=all> | ||
#Empty the Frixion cap. | |||
#Put the Ballsign backplug into the top of Frixion cap and cut the backplug until it is flush with the cap (the black part on the top is a small part of the Ballsign backplug)<br>[[File:Bsbp-300x225.jpg|left|thumb|200px]]<br clear=all> | |||
#Disassemble the G3 inktube and keep only the grey part (be careful of ink spilling)<br>[[File:G3ink-300x225.jpg|left|thumb|200px]]<br clear=all> | |||
#Then, put it into the Ballsign backplug as shown:<br>[[File:Mesicap-300x225.jpg|left|thumb|200px]]<br clear=all> | |||
#Put Step 1 into the Hyper Jell grip together like so:<br>[[File:mesigrip2-300x225.jpg|left|thumb|200px]]<br clear=all> | |||
#Put everything into the Frixion cap<br>[[File:Mesicap2-300x225_.jpg|left|thumb|200px]]<br clear=all> | |||
=====Front===== | |||
#Prepare the G3 front (remove grip, sand down the 8 small plastic squares and file the front) | |||
#Tip stack G3 tip > Metallic Gel tip > HGG tip<br>[[File:Mesitip-300x225.jpg|left|thumb|200px]]<br clear=all> | |||
#Add 15 blocks of D-1K grips on the front : 5 red stripes > 4 black stripes > 6 red stripes<br>[[File:Mesifront-300x225.jpg|left|thumb|200px]]<br clear=all> | |||
#Add suitable amounts of D-1K grip or other grips on the Frixion cap to adjust balance. | |||
#Put an insert into the barrel and put the Frixion cap onto the back of the G3 after adding some tape on the G3 barrel. You have finished! | |||
[[File:Mesitip-300x225.jpg]] | |||
[[File:Mesifront-300x225.jpg]] | |||
Latest revision as of 11:02, 28 August 2026
Mesi G3s are a series of single-sided mods created by Mesi, each differentiated by a suffix.
V1
Construction
Parts needed
- 1x Plastic G3 (body)
- 2x Hyper Jell (cap, grip)
- 1x Signo DX (tip, grip)
- 2x HGR (tip)
- 1x Anyball (grip)
- 1x RSVP (inktube)
Video tutorial
Video tutorial by Mesi.
References
V2
Construction
Parts needed
- 1 Plastic G3 (Plastic ver.) (Backplug, Barrel, Tip, Grip, Inktube)
- 1 Pilot Frixion Colors (Cap, rubber nub)
- 3 3 Zebra D-1K (Grips)
- 1 1 Metallic Gel (Tip)
- 1 Hyper Jell (Grip)
- 1 Sakura Ballsign (Backplug)
- 1 Pentel Hybrid Gel Grip
- 1 a small random grip
Tutorial
- Original tutorial:Mesi's blog
Cap
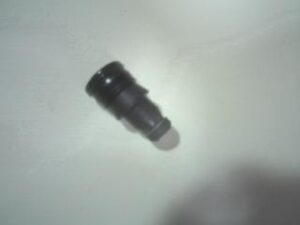
- Put G3 back plugug and Frixion rubber nub together like below:
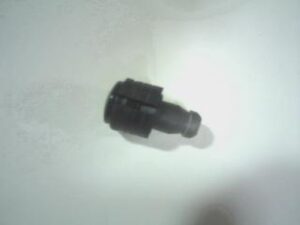
- Add 4 stripes of G3 grip above Step 1. Cut the grip vertically.
- Empty the Frixion cap.
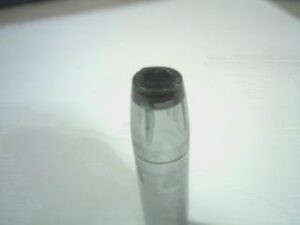
- Put the Ballsign backplug into the top of Frixion cap and cut the backplug until it is flush with the cap (the black part on the top is a small part of the Ballsign backplug)
- Disassemble the G3 inktube and keep only the grey part (be careful of ink spilling)
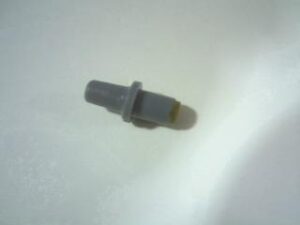
- Then, put it into the Ballsign backplug as shown:
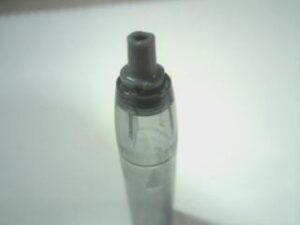
- Put Step 1 into the Hyper Jell grip together like so:
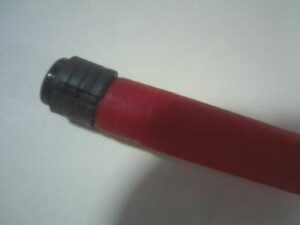
- Put everything into the Frixion cap
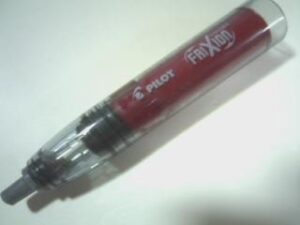


Front
- Prepare the G3 front (remove grip, sand down the 8 small plastic squares and file the front)
- Tip stack G3 tip > Metallic Gel tip > HGG tip
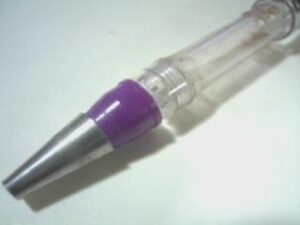
- Add 15 blocks of D-1K grips on the front : 5 red stripes > 4 black stripes > 6 red stripes
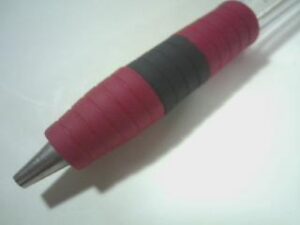
- Add suitable amounts of D-1K grip or other grips on the Frixion cap to adjust balance.
- Put an insert into the barrel and put the Frixion cap onto the back of the G3 after adding some tape on the G3 barrel. You have finished!


References