
Glenn Matthews
From Fen Spinner Wiki
More actions
Glenn Matthews is a mod by Purplet, measuring 20.5 cm and weighing 18 g. It uses inserts and is difficult to build. Plastic tips can be replaced with two matching metal tips for greater weight and momentum.[1]
Construction
Parts needed
- 2 Hyperjell caps
- 1 Grip Matic mechanism and grip
- 1 G3 body
- 2 plastic tips, or 2 matching metal tips
- 3 Airfit chrome rings
- 1 HGG tip
- Tape and hot glue
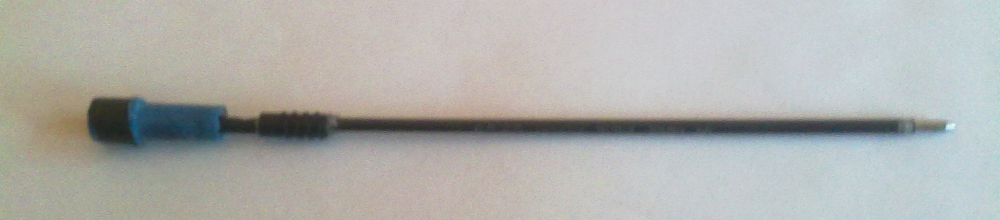
- 1 Pilot G2 ink tube
- 1 Comssa back cap or similar
- 2 grip rings (any grip can be used if cut straight)
- A short RSVP ink-tube section[2]
Text tutorial
- File the bumps from the G3 barrel. Choose a 0.5 cm spacer made from grip, white barrel, or a cap; place it at the G3 front and wrap tape in front of it until the surface is level.
- Wash out the G2 ink tube, cut a section to a suitable length, wrap grip around its front, and slide it into the G3 front.
- Screw a plastic tip (or the selected matching metal tip) onto the taped end of the G2 tube.
- Cut a grip ring and one Hyperjell cap. Build the front stack in this order: chrome ring, grip ring with the chrome ring slid over it, cut Hyperjell cap, grip ring between cap and tip, and a second chrome ring glued to the cap.
- Repeat the front-side arrangement with an insert beneath the cut cap. Test-fit this stack on plain paper.
- Wrap tape around the HGG tip, place it inside the Grip Matic grip, and wrap the back insert around that assembly. If using metal tips, fit the HGG tip inside a metal tip. Put the assembly in a Hyperjell cap and glue the chrome ring in place.
- File the Comssa back cap until its front portion fits firmly but can turn in the G3 barrel. Cut a short RSVP ink-tube section and glue it into the Grip Matic mechanism screw. Glue an emptied ink-tube piece into the Comssa back cap and connect it to the mechanism.
- Put the main insert in the G3 barrel and file the main Grip Matic mechanism section as needed to fit the barrel and insert thickness.
- Insert the mechanism into the G3 body and screw its two sections together. Adjust the tube connection so the cap sits at the desired position.

Tutorial photographs
-
 Tutorial photograph.